Most of you might know that I am currently a student. Living near the University is quite important for me as I hate traveling long. In the central part of Karlsruhe, the city I study in, most houses are very old. The house I live in was built around 1900 and modernized from time to time. A heater and electricity were added, for example.
The flat is shared by students. My hirer told me that he will pay all cost of materials if I wanted to improve something. As a new leaser came and we had no washing machine we thought it was time to renovate the kitchen.
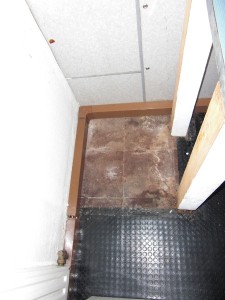
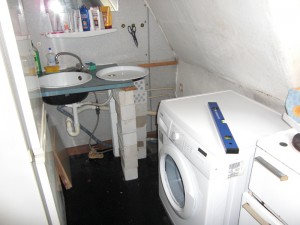
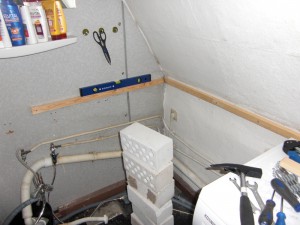
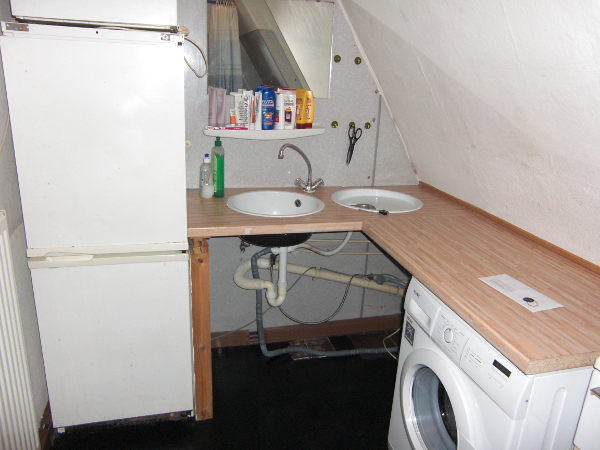
The old kitchen
Why did I renovate?
- We needed more space for a new washing machine.
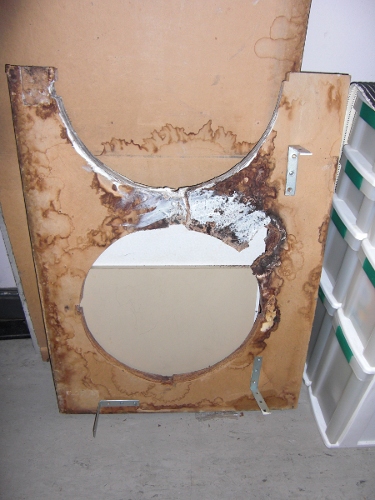
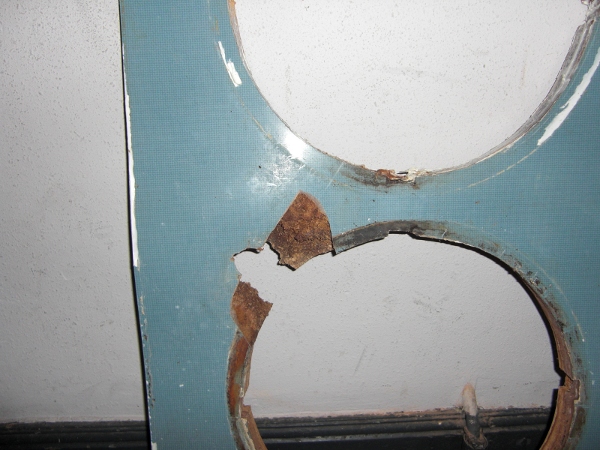
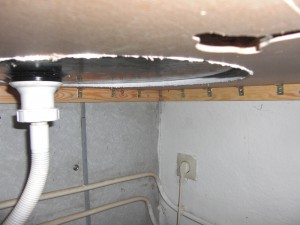
- The old countertop was ugly, molded and had a water damage.
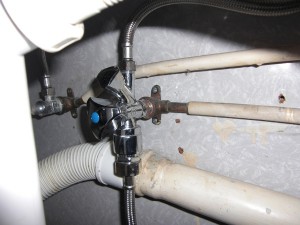
- The tap was loose.
- The tube for hot water was loose.
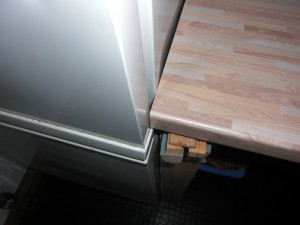
Some photos

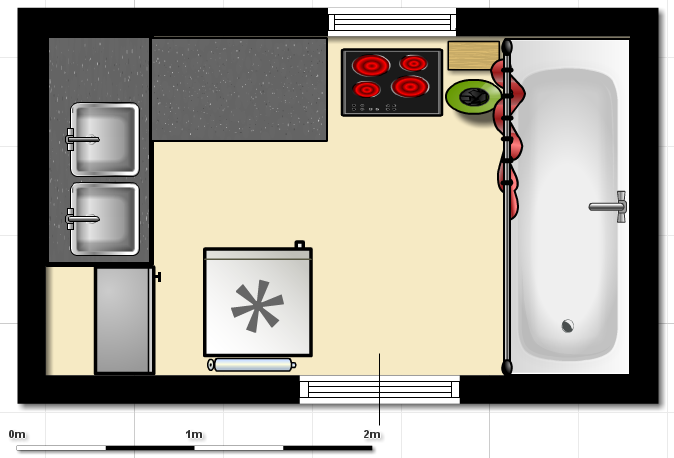
Plans

The renovation
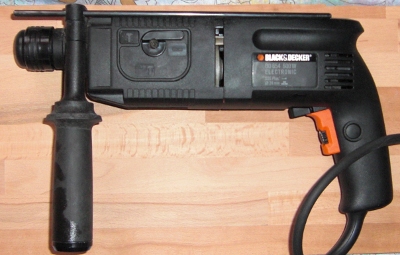
Tools
I needed quite a lot of tools. I had to buy most of them when I saw that I couldn't continue without them:
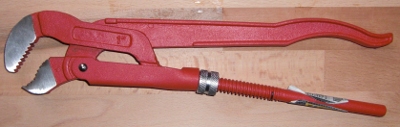
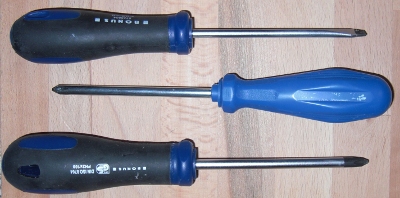
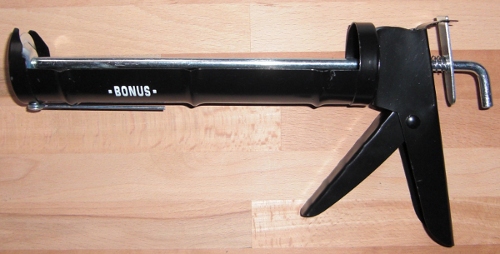
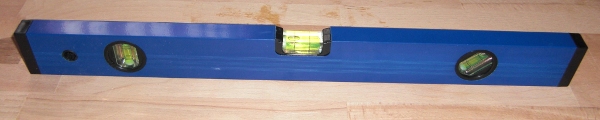
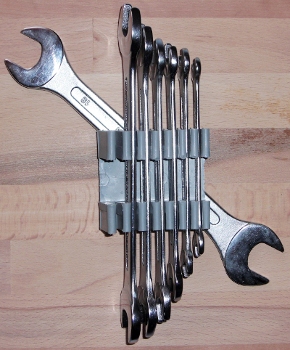
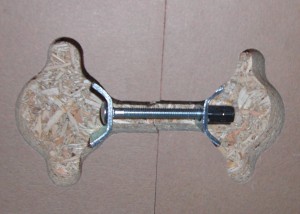
Additionally I needed a hammer to get the wall plugs into the wall, some different screws and wall plugs, pliers, some tubes and some O-rings.
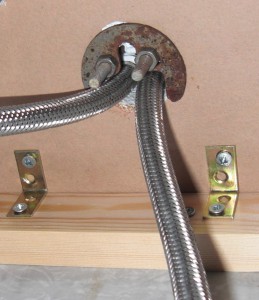
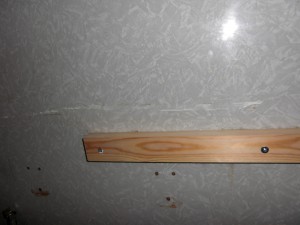
Photos while working
The chemicals I used are called "Max Bahr - Silikon Entferner". It seems to be called "Caulk Remover" in English. I had to apply mine with a brush which was in the package. After 10 minutes, I could remove some more of the caulk.
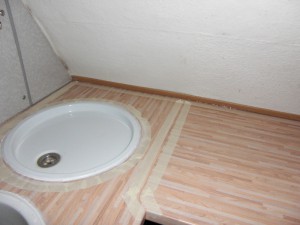
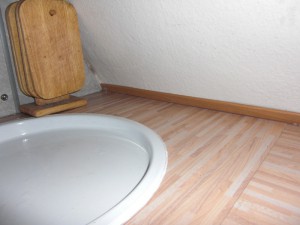
The new kitchen
Conclusion
I am proud of the result. The new kitchen looks nice, the countertop is very exact horizontally, no water drips out. Some parts could have been done better (like the silicone clogging), but I guess most could not be much better.
The next time I do something like this I will hopefully not have to go about ten times to the hardware store :-/ Now I have some more tools :D