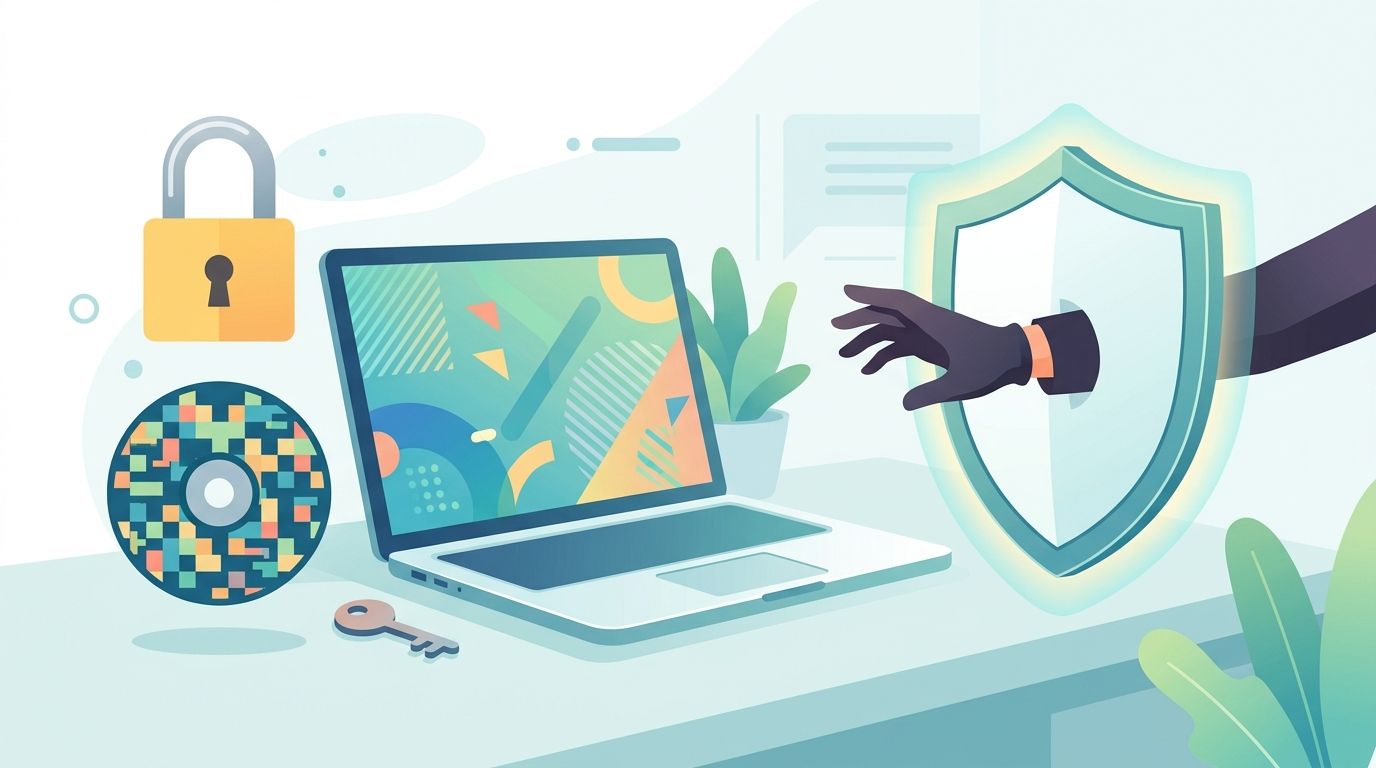
Having an attacker with physical access to your device is one of the worst scenarios. If the data is not encrypted on the disk, then the attacker can simply disassemble your device, get the HDD/SSD, put it in their machine, and read the data. For this reason, encrypting your data is crucial.
There are so many things you want to protect that it makes sense to just encrypt the complete hard drive. For example, you might have valuable data on your swap partition or within temporary files. So just encrypt the whole drive. This is called Full Disk Encryption, or FDE for short. Let’s talk about how it works, different implementations of it, and its weaknesses.
Why it Matters
- 2009: According to “The Cost of a Lost Laptop” by Ponemon Institute, the average damage organizations suffer due to lost laptops is \$49,246. Please note that this includes the hardware, the damage done by leaked confidential data, and the damage done by lost work.
- 2015: “Nearly 41% of all data breach events from 2005 through 2015 were caused by lost devices such as laptops, tablets, and smartphones.” (source)
FDE does not solve…
- … lost data: You need to make backups for that
- … leaking data through memory: FDE is about protecting data at rest, i.e. when your computer is turned off. It's not about protecting data in memory or in transit. Subash SN shows this beautifully in his article Breaking Full Disk Encryption from a Memory Dump.
- … leaking data through the internet: If an attacker gets live access to your computer, e.g. by convincing you to install some software to make a remote fix on your machine (phishing), FDE does not help at all.
- … rubber-hose cryptanalysis: Torturing you into giving your password away.
- … hardware keyloggers: If the attacker can record all your keystrokes, they will also get the password you’re using to decrypt the drive.
How FDE Works
Full disk encryption (FDE) works on a very low level. It is below the file system, which also means it’s compatible with every file system. It uses a symmetric encryption algorithm that operates on blocks of data, e.g. 128 bits. Those blocks are automatically encrypted when they are written and automatically decrypted when they are requested. The program typically keeps the key in memory.
A typical choice is a block size of 128 bits, the AES block cipher with a 256-bit key and CBC operation mode. Block ciphers operate on blocks of an exact size (e.g. 128 bits). They get this size as input and give the same size as output. The operation mode — or short “mode” — is the rule that is applied to deal with data that is longer than one block. The simplest mode is ECB (electronic codebook). That mode just splits the plain text into blocks of the desired size, pads the last block with zeros, and applies the cipher to every block independently. This is a bad idea as it shows repeating patterns clearly. XTS is a common mode explained by Prof Bill Buchanan OBE in his article Who Needs a Tweak? Meet Full Disk Encryption. Computerphile has a nice explanation of the modes:
The key has to be stored on the device to encrypt the data. This means the key needs to be secure. Additionally, one must not store the key in plaintext on the machine and one needs to prevent brute-forcing of the key. What the user memorizes is the passphrase. This passphrase is run through a key derivation function to generate the key. It is intentionally computationally heavy — you have to spend that computation every time you unlock your computer. But the attacker also has to do it. This means that if you need e.g. 1 second to run this, the attacker would need one second for every single attempt. A typical key derivation function is PBKDF2 and a typical cryptographic hash function is SHA-512. After the key has been derived, it is stored securely in memory.
Instead of using a password, you could also give your users a physical token such as a YubiKey (example) or similar solutions. Or you simply put the key file on a USB stick. The advantage of such tokens is that users cannot give them away. But this is a topic for another article.
All of that is not worth anything if you have a keylogger running. Hardware keyloggers need extra considerations, but for software keyloggers, we want to ensure the integrity of the boot path. This is where TPM can help. TPM is a piece of hardware that ensures that no tampering happened to the hardware or essential parts of the software, namely the BIOS.
What is Secure?
NIST is the US National Institute of Standards and Technology. Their recommendations are widely followed. The German BSI is also interesting to look at.
NIST SP 800-38E (2010) approves the XTS-AES mode with either 256-bit keys (XTS-AES-128) or 512-bit keys (XTS-AES-256) using the AES cipher in XTS mode. Please note that XTS uses two AES keys, so the XTS key is twice as long as the AES key. The block size of AES is always 128 bits.
BSI TR-02102-1 (2020) recommends using one of those block ciphers: AES-128, AES-192, AES-256. They say CCM, GCM, CBC, CTR are acceptable. Interestingly, they do not mention XTS here. In another part of the document, they mention potential issues of this mode for backups.
FDE Solutions
Windows: BitLocker
BitLocker is an FDE feature included with Microsoft Windows since 2007. By default, it uses AES in CBC mode with a 128-bit key. It can be configured to use XTS mode and/or a 256-bit key. It can use a TPM to validate the integrity of boot and system files before decrypting a protected volume.
Here is a guide on how to set BitLocker up on Windows: Setting up BitLocker Drive Encryption on Windows 10
Linux: dm-crypt using LUKS2
dm-crypt using LUKS has been the default way to do FDE on Linux since 2004. dm-crypt
supports XTS, but the default cipher string specification is
aes-cbc-essiv:sha256
(source).
You can use cryptsetup and cryptmount to manage dm-crypt.
You can use GRUB's cryptodisk feature to secure your boot path.
Detailed instructions can be found here: Full_Disk_Encryption_Howto_2019
Mac: FileVault 2
FileVault is the FDE program that was introduced for Mac in 2011 (Mac OS X 10.7). Its predecessor from 2003, FileVault 1, only encrypted the home folder (source). By default, it uses XTS-AES with 128-bit blocks and a 256-bit key.
Here is a guide on how to turn on FileVault on Mac: Use FileVault to encrypt the startup disk on your Mac
Android
FDE is available since Android 3.0. Android 10 only supports file-based encryption (source). Some speculated reasons why FDE was removed are issues with alarm clocks and support options in case of forgotten passwords (source). As a phone is typically running all the time and rather easy to unlock, disk encryption is actually not enough. The memory needs to be protected as well.
The supported Android versions used dm-crypt.
On my Samsung S10, the setting to enable FDE on Android is called “Strong Protection”. You find a guide here: How to encrypt your Android device
Honorable Mentions
- GnuPG (Linux) is a free replacement for PGP released in 1999. It received 250k DM in 1999 (source), which would be equivalent to 350k € or \$427k USD in 2019.
- PGP (Linux): Pretty Good Privacy (PGP) from Symantec (now NortonLifeLock) calls the concept Whole Disk Encryption (WDE) instead of FDE. WDE was introduced in 2014 to PGP. It uses a password as authentication before the rest of the operating system can boot. This means you can use it for Windows and Linux.
- VeraCrypt (former TrueCrypt): If you’re interested in how to use it, have a look at Andrew Douma's article Full Disk Encryption with VeraCrypt.
Lost Device Policy
Having FDE on all your devices is not enough. First, you need to make sure that the employees use strong passwords and that those passwords are not written on the device.
But that alone is not enough. You should have a documented way to handle lost devices. You need a Lost Device Policy. This can include:
- Block all accounts of that employee. Even if the laptop gets compromised, at least the remaining accounts cannot be used to steal more data.
- Try to get the laptop again by calling lost and found offices (e.g. for the taxi/airport/hotel)
- Inform the police that the laptop was stolen. You should have a model name and the serial number at hand. Maybe even something that makes the laptop unique?
See also
While searching for references for this article, I came across some very good resources.
- Arch Linux: Data-at-rest encryption
- Arch Linux: dm-crypt/Encrypting an entire system
- Security.SE: How secure is Ubuntu’s default full-disk encryption?
More in this series
In this series about application security (AppSec), we already explained some of the techniques of the attackers 😈 and also techniques of the defenders 😇:
- Part 1: SQL Injections 😈🐝
- Part 2: Don’t leak Secrets 😇
- Part 3: Cross-Site Scripting (XSS) 😈🐝
- Part 4: Password Hashing 😇
- Part 5: ZIP Bombs 😈
- Part 6: CAPTCHA 😇
- Part 7: Email Spoofing 😈
- Part 8: Software Composition Analysis (SCA) 😇
- Part 9: XXE attacks 😈🐝
- Part 10: Effective Access Control 😇
- Part 11: DoS via a Billion Laughs 😈
- Part 12: Full Disk Encryption 😇
- Part 13: Insecure Deserialization 😈🐝
- Part 14: Docker Security 😇
- Part 15: Credential Stuffing 😈🐝
- Part 16: Multi-Factor Authentication (MFA/2FA) 😇
- Part 17: ReDoS 😈
The following articles are about to come:
- Part 18: Secure Messaging 😇
- Part 19: Cryptojacking 😈
- Part 20: Backups 😇
- Part 21: Cryptotrojans 😈
- Part 22: Single-Sign-On 😇
- Part 23: Clipboard Hijacking 😈
- Part 24: Certificates 😇
- Part 25: Race Condition Attacks in Blockchains 😈
- Part 26: Mobile Device Management (MDM) 😇
- Part 27: Server-Side Request Forgery (SSRF) 😈
- Part 28: Network Separation 😇
- Part 29: Social Engineering (including Phishing) 😈
- Part 30: Virtual Private Networks (VPNs) 😇
- Part 31: CSRF 😈
Let me know if you are interested in more articles around AppSec / InfoSec!